Introduction
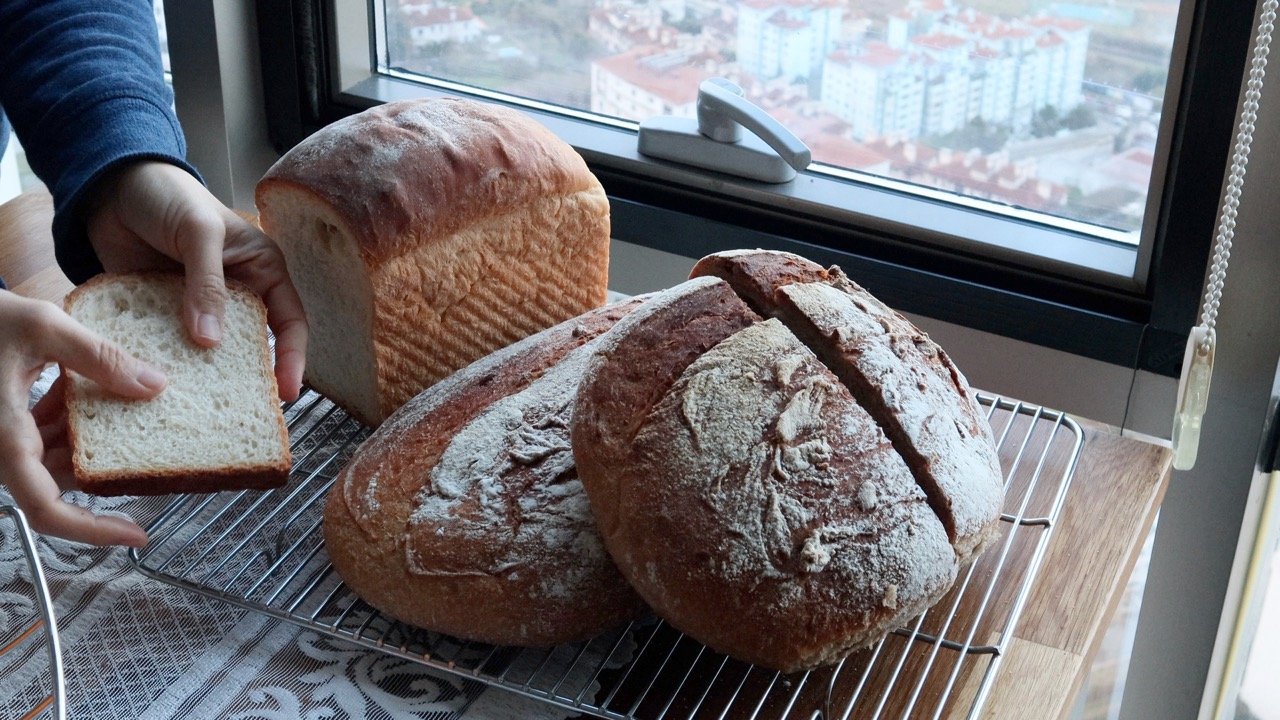
Sourdough bread is one of the oldest and most beloved forms of baking, known for its distinct tangy flavor, chewy texture, and crisp crust. While many recipes call for bread flour, all-purpose flour (APF) works wonderfully for making sourdough at home—especially for beginners.
This guide will walk you through a simple, no-fuss method to bake delicious sourdough bread using all-purpose flour. Whether you’re new to sourdough or looking for a reliable everyday recipe, this approach ensures consistent results with minimal effort.
Why Use All-Purpose Flour for Sourdough?
1. Accessibility & Convenience
- APF is widely available and affordable.
- No need for specialty flours like bread or whole wheat.
2. Balanced Protein Content (10-12%)
- Creates a softer crumb compared to high-protein bread flour.
- Easier to handle for beginners.
3. Versatile for Different Styles
- Works for sandwich loaves, boules, and batards.
- Can be mixed with whole grains for added flavor.
4. Reliable Fermentation
- APF ferments predictably, making it great for starter maintenance.
Ingredients You’ll Need
For one loaf (about 800g):
- 500g all-purpose flour (unbleached preferred)
- 350g water (70% hydration, room temperature)
- 100g active sourdough starter (ripe and bubbly)
- 10g salt (sea salt or kosher salt works best)
Optional Add-ins:
- 1 tbsp honey or sugar (for a slightly sweeter loaf)
- 25g olive oil (for a softer crust)
- Herbs, seeds, or roasted garlic (for extra flavor)
Step-by-Step Instructions
Day 1: Preparing the Starter (If Needed)
If your starter hasn’t been fed recently:
- Mix 25g starter + 50g APF + 50g water.
- Let it rise for 4-8 hours until doubled and bubbly.
Step 1: Autolyse (30-60 min)
- In a large bowl, mix flour and water (reserve 50g water).
- Let rest to hydrate the flour and kickstart gluten development.
Step 2: Mixing the Dough
- Add starter, salt, and remaining water.
- Mix until fully combined (by hand or with a dough scraper).
Step 3: Bulk Fermentation (4-6 hours)
- Perform 3-4 stretch-and-folds (every 30 min for the first 2 hours).
- Let dough rise until 50-75% increased in volume (not double).
Step 4: Shaping & Final Proof
- Gently shape into a round (boule) or oval (batard).
- Place in a banneton or bowl lined with a floured towel.
- Proof at room temp for 1-2 hours OR refrigerate overnight (8-12 hrs) for better flavor.
Step 5: Baking
- Preheat oven to 450°F (230°C) with a Dutch oven inside.
- Score the dough with a razor blade.
- Bake covered for 20 min, then uncovered for 20-25 min until deep golden.
- Cool completely (at least 2 hours) before slicing.
Tips for Perfect APF Sourdough
✅ Use a mature starter (floats in water = ready).
✅ Adjust hydration (APF absorbs less water than bread flour).
✅ Cold fermentation (retardation) enhances flavor.
✅ Steam is key—bake covered for a better rise.
✅ Don’t skip the autolyse—it improves texture.
Troubleshooting Common Issues
1. Flat Loaf?
- Underproofed → Let dough rise longer.
- Weak starter → Feed it 2-3 times before baking.
2. Too Dense?
- Overmixed or underfermented → Handle gently, allow proper rise.
3. Pale Crust?
- Bake longer uncovered for deeper color.
4. Sticky Dough?
- Too much hydration → Reduce water slightly next time.
Conclusion
Making sourdough bread with all-purpose flour is an excellent way to start your sourdough journey without needing specialty ingredients. With practice, you’ll master the balance of fermentation, shaping, and baking to create bakery-quality loaves at home.
Ready to bake? Share your results in the comments! 🍞🔥


Leave a Reply